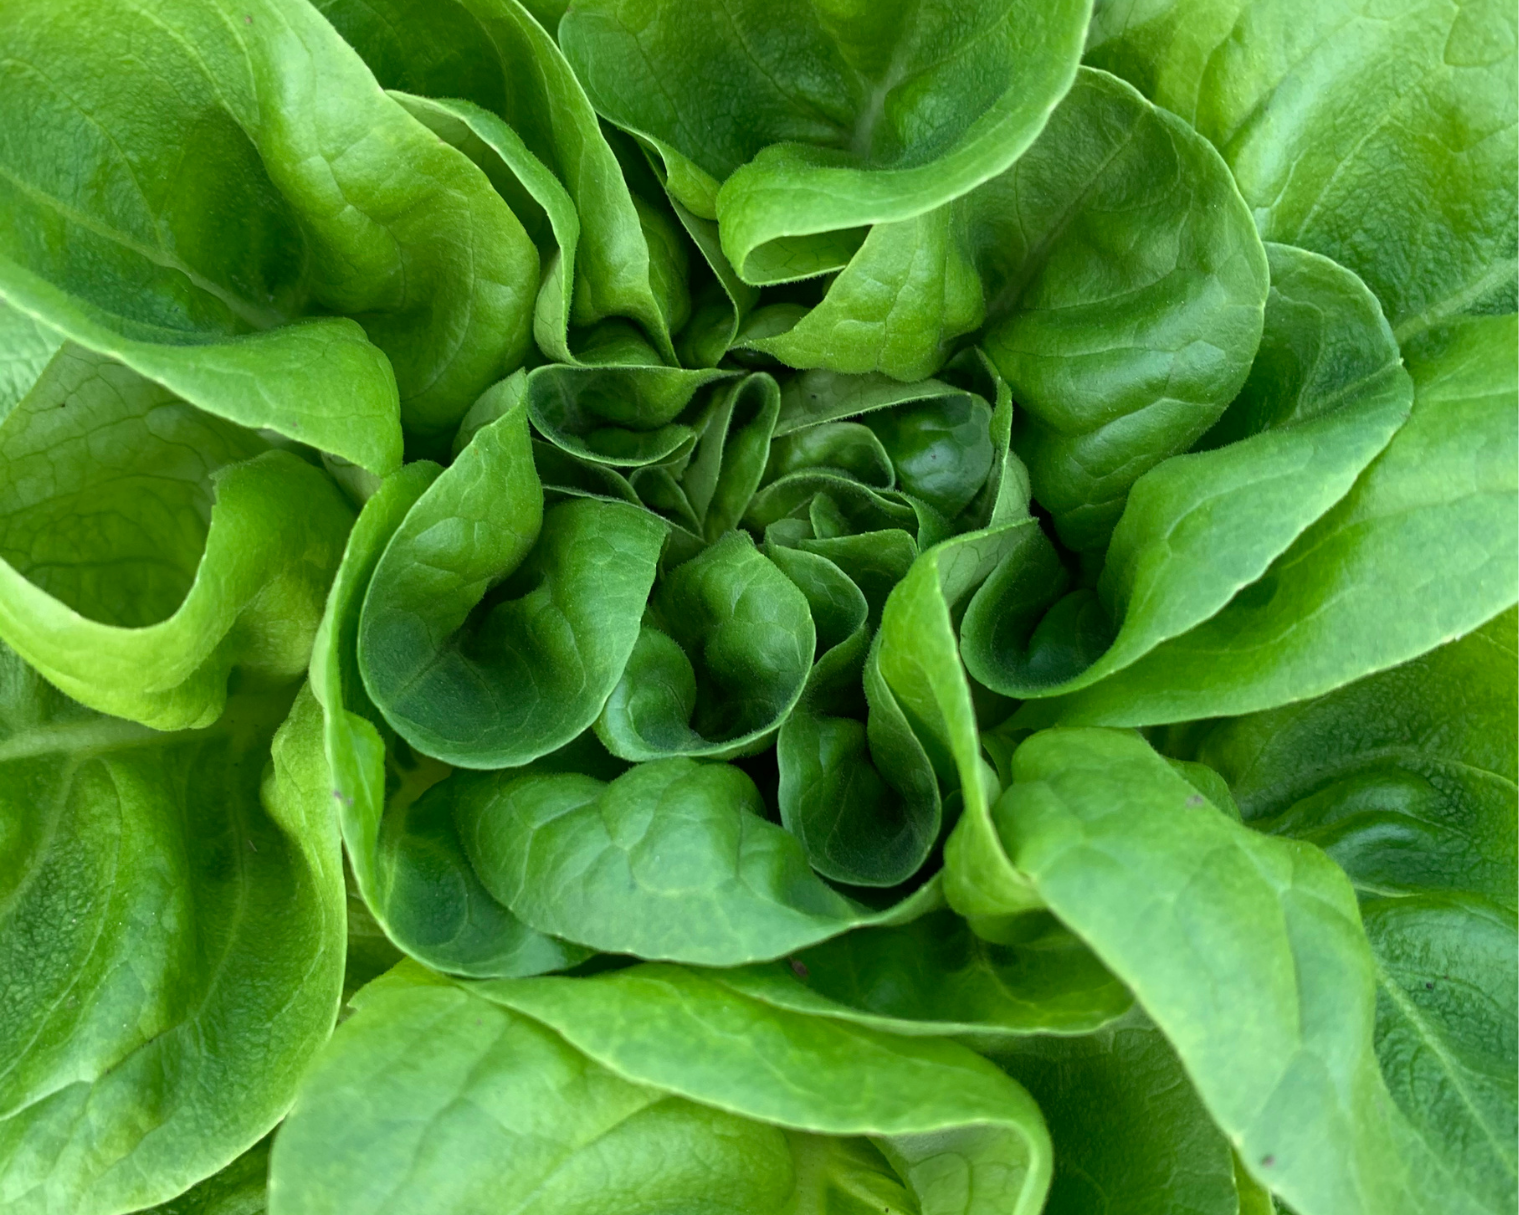
Grow Buttercrunch Lettuce
Right In the comfort of your own kitchen!
The Process
First A Note on Your Seeds
If you purchased seeds from Rapah’s or you have our Autumn grow kit, your kit includes 6 seeds, and each seed is a head of lettuce. These seeds have had a 100% sprout rate for us, which as homesteaders we count as a rich blessing. What does that mean for you? Gardeners traditionally plant 2–3 seeds per pot in case one doesn’t sprout. We say don’t waste the seed! Plant just one at a time and watch that beauty grow. If you’re worried it won’t come up, that’s why we included two coco coir pots. Give us a call at 405-985-5128 and we’ll give you extra seed starter mix for free, so you can plant a second seed alongside your first.
Stage 1: Plant (Day 1)
You’ll need: seed starter mix, coco coir pot, 1 seed, tweezers, mini saucer, spray bottle, plastic wrap, lamp
Pour the seed starter mix into a bowl. Add room-temperature water a little at a time and mix until it’s evenly damp, like a wrung-out sponge. Dry mix repels water, so don’t skip this.
Fill one pot with the damp mix and tap it gently to settle. Leave about ¼ inch of space at the top, and don’t pack it down.
With the tweezers, place one seed in the center of the pot. Press it in lightly and sprinkle the thinnest layer of mix over it. Lettuce seeds need light to sprout, so keep it shallow.
Set the pot on a saucer, mist the surface well, and cover it loosely with plastic wrap.
Place the pot under the lamp, about 2–3 inches below the bulb, and turn it on.
Stage 2: Sprouting (Days 1–7)
You’ll need: spray bottle, lamp
Check twice a day. If the surface looks or feels dry, mist it. For now it should stay evenly moist.
Lettuce sprouts best in a comfortable room. Keep the pot away from heaters, vents, and the top of the fridge.
Your sprout should appear in 3–7 days. Once it’s up, remove the plastic wrap for good.
Stage 3: Seedling (Weeks 1–4)
You’ll need: lamp, saucer, Arber plant food, spray bottle
Light: 14–16 hours a day. Keep the lamp about 2 inches above the leaves and raise it as the seedling grows, so it stays short and sturdy instead of tall and floppy. A plug-in timer makes this easy.
Water from the bottom: When the surface feels dry or the seedling droops, fill the saucer with water and let the pot soak it up for about an hour. Pour off whatever is left, because standing water causes mold and root problems. Expect to water every 4 days or so at first, then every 2–3 days as it grows.
Feed: Once the first true leaves appear (the second set of leaves), mix ¾ teaspoon of Arber plant food into 8 oz of water. Use it in place of plain water every other time you water. The bottle makes 16 feedings.
Strengthen: Each time you check on it, brush your hand gently across the top. It works like a breeze and builds a stronger stem.
Stage 4: Transplant (Weeks 4–6)
You’ll need: transplant pot, potting mix, your seedling
Ready when: the seedling has 3–4 true leaves and roots are poking through the sides or bottom of the coco coir pot.
Dampen the potting mix the same way you did the starter mix. Fill the transplant pot, leaving about an inch at the top.
Gently tear away the bottom of the coco coir pot. The pot breaks down in soil, so you can plant it whole.
Set it in the new pot so the rim of the coco coir pot sits just below the soil surface, since an exposed rim wicks water away from the roots. Keep the base of the leaves at the same height it was growing, not buried.
Fill in around it, firm the soil gently, and water until it drains. Set the pot on a saucer or plate.
If you planted a second seed and both sprouted, give the second one a pot of its own.
Stage 5: Growing On
Light: Keep up the 14–16 hours of lamp light, with the lamp a few inches above the leaves. A bright window helps, but indoors the lamp does most of the work.
Water: When the top inch of soil feels dry, water until it drains, then empty the saucer. Aim for evenly moist, never soggy.
Feed: Use the Arber mix (¾ tsp per 8 oz of water) every other watering.
Keep it cool: Lettuce likes a cool room. Heat makes the leaves bitter and pushes the plant to bolt.
Stage 6: Harvest
Harvest Methods:
Leaf by leaf: Once the outer leaves are 3–4 inches long, snip a few from the outside at the base. Leave the center to keep growing, and take no more than a third of the plant at a time.
Whole head: About 2 months after planting, when the head is full and soft, cut it at the soil line.
Watch for bolting: If the center starts stretching up into a tall stalk, harvest everything right away, because the leaves turn bitter after that.
Rinse, and enjoy a salad you grew yourself. Store your remaining seeds in a cool, dry, dark place and start the next one whenever you’re ready.